Andie here – as if it weren’t already obvious by the title, and once more, to be redundant, I’ll be one of the voices you’ll be hearing from often around here. I’ve been crafting since the year I helped my mom fashion me a cellphone costume for Halloween (everyone thought I was a calculator though…ah the days before the mobile boom!) My style is kitsch in a redeeming sort of way; I have a love of all things following the R³ philosophy (Repurposed, Reused, and Recycled!), and that’s where this first craft comes from.
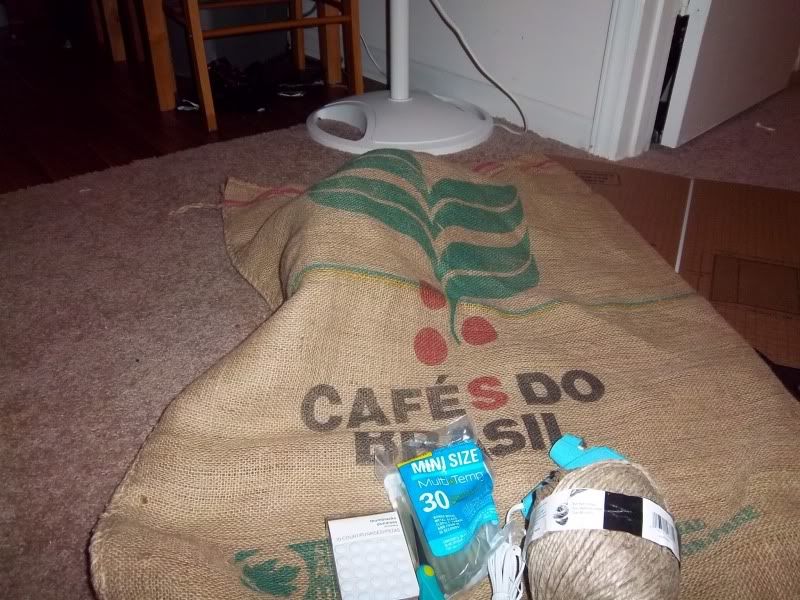
You Will Need:

• Scissors
• 50 lb Coffee Bag
• Three Panel Poster Board (can substitute plywood, cork board, or foamboard of around the same size)
• Hot Glue Gun
• Hemp (I used a Natural Polished Thick Hemp roll of 65 yards)
• Thumbtacks, and (not pictured)
• Stapler
About the Bag: Many local coffee joints will sell these babies once they’ve been depleted of their contents. I got mine at Jumpin’ Java in Shallot, NC for only 5 bucks!
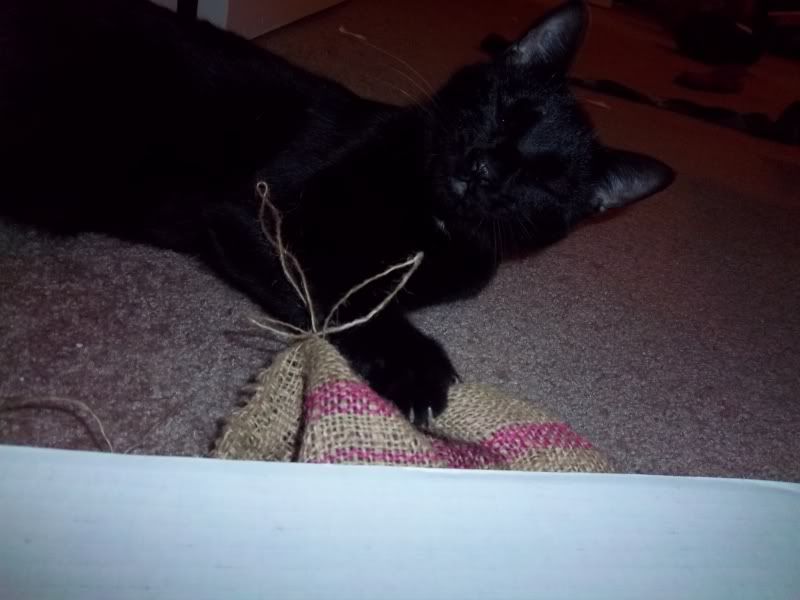
Helpful Starting Hint: Hemp is a very irresistible product for kittehs. After completing this project otherwise, I would recommend removing them from your work space. Lest you have to deal with this. Or this. Or this.
Step One: Prepare Your Board

If you have something other than the three panel board, you can skip this step. I chose it because it was the least expensive for the most thickness, and since it was a personal project I could cut a few corners for the sake of costs.
Bear in mind, whatever color surface you use will show through the burlap ever so slightly, so choose accordingly. All I did here was fold the panels backwards for thickness and staple them into place. With every stapling in this project, I sealed with a bit of hot glue for stability.
This takes some amount of crawling around the edges to get the folds to go the opposite direction that they want to, but as you can see, my Baby Cat did pitch in to try and help:

Step Two: Affix the Bag Over Your Surface

Cut along the seams of your bag so you can work with just the front panel, then trim it down to about 2-3 inches larger than the surface you are covering (more if it your surface is thicker). Lay it face down, being sure it is smooth, then layer your board over it and proceed to stapling it tautly into place.

Your finished product should look something like this:

Step 3: Applying Your Hemp/Ribbon
From here on out things get a little open to interpretation. The key here is to keep things pulled tight and don’t skimp on staples. For each of my stripes I used 3, yard length pieces (nose to outstretched arm method). Let your own personal style shine through! Be asymmetrical and lopsided or militaristic and precise! Make diamonds or a grid. Just keep in mind whatever you will be using the board to display, and make sure the gaps you create in your pattern are appropriate for tucking said items.

Step 4: Tacking and Embellishments
Now everything really is up to you. A good tacking in the middle of every crossed line will ensure your creation actually holds on to whatever you’re placing into it. Instead of tacks you could also proceed to more stapling then cover them up with embellishments like buttons or, in my case, hemp flowers. Thumbtacks are a good idea to have around though, as a little extra security for whatever you’re showcasing in the cords never hurt…especially when you have cats 😉
Tacking Only:

Embellishments:

Step 5: Load Her Up!
You’re done! Have fun from here designing your layout of paraphernalia. I imagine this could be a cute place for not even the sentimental, but also post-it reminders, business cards and the like. Go heavy or go light, just remember to let your personality shine through.

Coffee on, guys 🙂
Andie ❤
