Hello fellow craftians! I’m Jessy, one of the other main voices around “these parts”. I’ve been putting off writing my first tutorial partly due to severe bronchitis…but mainly the stage fright of writing my first post. But here I am…and I’m gonna just dive in and do it.
BAKED MARBLES!

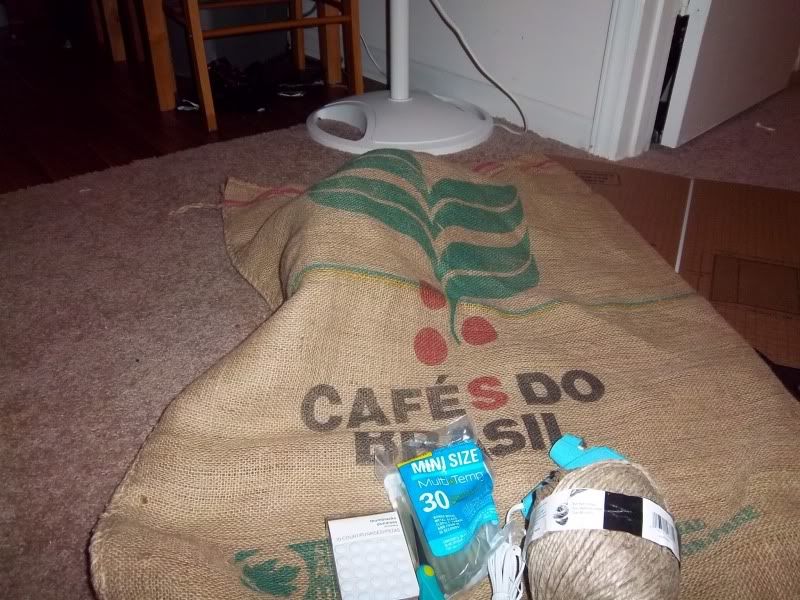
Materials:
- Decorative round glass marbles
- Cookie sheet
- Bowl of ice water
- Bead caps
- Findings starter kit
- E6000 jewelry glue
- Necklace
- Earring wire (optional)
- (cost: $10-15; makes 20+)
So here is something that I’ve seen around Pinterest and have been dying to try. I never thought it would actually work til I heard these little things sizzling in the ice water.
First, I spent a few weeks looking for marbles that would actually work. Finally, I found the clear marbles needed in the floral section with the container fillers of Hobby Lobby. Once I got them home and some time to myself, I grabbed all my materials and set to work.
I tried a few different temperatures that I had seen around the internet, and after a few trial and error attempts I figured out that hotter was better. I set my oven for 500, and spread half the bag of marbles on the cookie sheet.

I cooked them for about 20-30 minutes then immediately poured them into a glass bowl of ice water….sszzzzzzzz It was a nice sound to hear, tells you that it’s working. Let them cool for 20 minutes or so, then I poured them (carefully) onto a paper towel to dry.
At this point, they are fragile, so expect a few or more to break. Please be careful when handling these!!

While they were drying off, I played around with the bead caps and anchoring them with wire. It took some playing and I’m still not sure if I’m doing it right, but it holds!
I took the wire and threaded it through the bead cap, then twisted it into a flat spiral to lock it in, then glued the cap onto the marble.


I let it sit out kitty’s reach for 24 hours and voila! From there you can either put them on a necklace, or earring wire or hang them from some sting in your window to make some pretty sparkles room to brighten it up!

Go grab some marbles and let your imagination lead the way!!
Please show us what you’ve come up with and link to the pictures in the comments. I can’t wait to see what amazing things you do with them!
Jessy ^-^


